Installing Windows 11 from USB: A Complete Guide for Beginners
Windows 11, Microsoft's newest operating-system, comes filled with cutting-edge features such as for example improved multitasking, a rested UI, and increased performance. But, to uncover its potential, a clear installment is often the best way ahead, particularly when you are replacing an older product or beginning fresh. Employing a how to install windows 11 on new pc is one of many best and most reliable methods. This guide walks you through the method stage by step.
Stage 1: Prepare Your USB Push
Before diving into the installment method, ensure you've the right methods and assets handy. You may need:
•A USB push with at least 8GB of storage.
•A stable web connection.
•Microsoft's Press Creation Tool.
Start with plugging the USB travel in to your computer and formatting it. That assures a clean record for Windows 11 installment files. Check out the official Microsoft internet site and obtain the Media Creation Tool. This tool is needed for creating a bootable USB drive.
Stage 2: Produce a Bootable USB with Windows 11
When you've downloaded the Press Generation Tool, work it in your computer. Follow the on-screen instructions, and when prompted, choose “Create installment media (USB display drive).” The software will obtain Windows 11 documents and change your USB get in to a bootable installation medium. This process may take a moment, according to your internet speed, so patience is key.
Pro hint: Guarantee that your unit matches the system requirements for Windows 11, including help for TPM 2.0 and Protected Boot.
Step 3: Start from USB and Begin the Installment
After creating the bootable USB push, it's time for the installation. System your personal computer and access the BIOS or UEFI settings (commonly accomplished by pressing recommendations like F2, F12, or DEL all through startup). Change your system on top of that from the USB push first, then save the changes and exit.
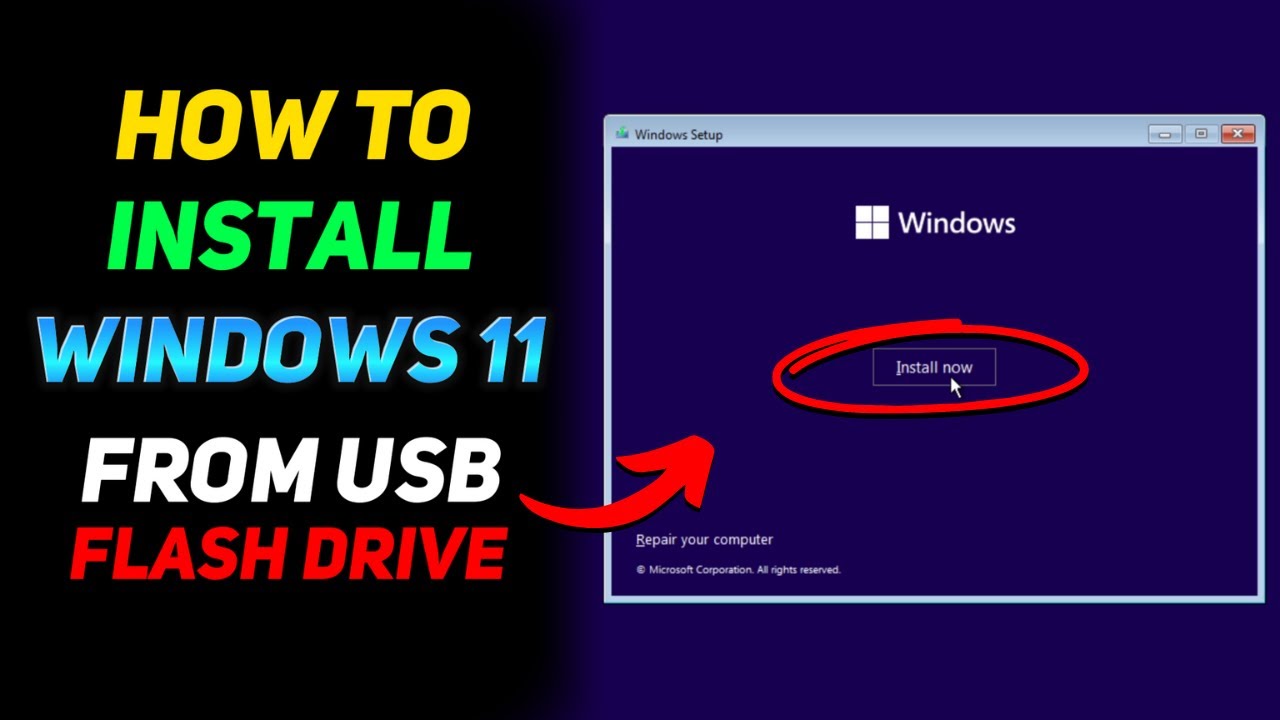
Your computer will boot from the USB get, launching the Windows 11 installation setup. Follow the prompts to select your preferred language, time, and region. When you achieve the installment form, pick “Custom” for a fresh installation in order to avoid mistakes from the previous running system.
Step 4: Complete the Installation Process
The startup may now information you through hard disk drive partitioning, copying documents, and finalizing the installation. When Windows 11 is successfully installed, the machine may restart automatically. You'll then arrange some personalization choices, connect with Wi-Fi, and link your Microsoft consideration to perform the setup.

Adding Windows 11 from the USB travel might sound complex, but that rapid tutorial streamlines the method, ensuring actually less tech-savvy customers may update effortlessly. With the correct preparation and resources, taking that modern OS your in your system is straightforward. Update now to have greater productivity and characteristics designed for today's energetic electronic landscape.


Comments
Post a Comment